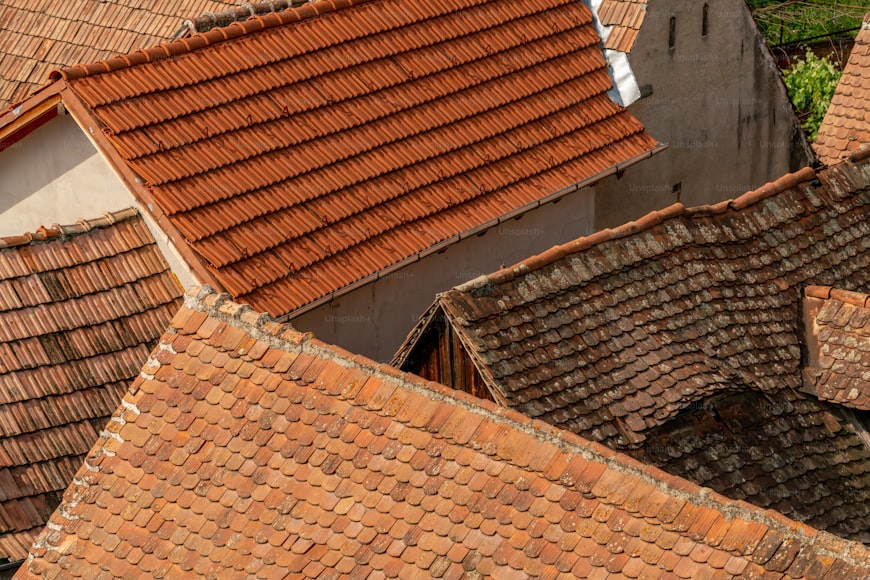
Roof leaks can turn from a minor inconvenience into a major headache if left unchecked. They can damage your home’s structure, lead to mold growth, and compromise your family’s comfort and safety. Understanding how to spot, diagnose, and repair roof leaks can save you money and protect your home from further damage.
In this comprehensive guide, we’ll explore the causes of roof leaks, how to identify them, and step-by-step solutions to fix them. Whether you’re a DIY enthusiast or want to know what to discuss with your roofing contractor, this article covers everything you need.
Why Roof Leaks Happen
Roof leaks are caused by a variety of factors, ranging from natural wear and tear to external damage. Identifying the root cause is crucial to effectively addressing the issue.
1. Common Causes of Roof Leaks
a. Weather Damage
Heavy rains, storms, and hail can cause significant wear to roofing materials, leading to cracks and holes. High winds can also dislodge shingles or tiles, exposing the underlayment to water intrusion.
b. Poor Installation
Improperly installed roofs are more prone to leaks. If flashing is not sealed correctly or shingles are not securely fastened, water can seep through.
c. Age of the Roof
All roofing materials have a lifespan. Over time, shingles may crack, curl, or lose their granules, leaving the roof vulnerable to leaks.
d. Clogged Gutters
When gutters are filled with debris, water can back up onto the roof, causing damage and leaks.
e. Roof Penetrations
Areas around chimneys, skylights, vents, and other penetrations are common points for leaks because they require special sealing.
Signs of Roof Leaks
Spotting a roof leak early can prevent costly repairs and extensive damage. Here are the most common signs to look out for:
1. Interior Signs
a. Water Stains on Ceilings and Walls
Brown, yellow, or copper-colored stains often indicate water leakage from the roof.
b. Dripping Water
If you notice water dripping during rain, the leak has become significant and needs immediate attention.
c. Mold or Mildew
Mold growth on walls or ceilings may indicate a hidden roof leak.
d. Peeling Paint or Wallpaper
Excess moisture from leaks can cause paint to bubble or wallpaper to peel.
2. Exterior Signs
a. Damaged Shingles
Look for cracked, curled, or missing shingles, as they are often the entry points for water.
b. Sagging Roof Areas
A sagging roof is a sign of prolonged water exposure and structural damage.
c. Granules in Gutters
Excessive granules in gutters indicate that shingles are wearing out and may be compromised.
d. Water Pooling on the Roof
Flat roofs are especially prone to water pooling, which can eventually lead to leaks.
Tools and Materials Needed
Before starting the repair process, gather the necessary tools and materials to ensure a smooth operation.
1. Tools
• Ladder
• Flashlight
• Roofing nails
• Hammer
• Utility knife
• Chalk or marker for marking damaged areas
2. Materials
• Roofing sealant
• Replacement shingles or tiles
• Roofing tape
• Waterproof tarps
• Metal flashing
Step-by-Step Guide to Identifying Roof Leaks
Finding the exact source of a roof leak can be challenging, but these steps will help simplify the process.
Step 1: Inspect the Interior
Start by checking your attic, ceilings, and walls for any signs of water damage. Use a flashlight to look for dark spots, mold, or dripping water.
Step 2: Trace the Leak Path
Water often travels along roof panels or beams before dripping, so trace the path back to its source.
Step 3: Examine the Roof Exterior
Use a ladder to inspect the roof. Look for damaged shingles, gaps in flashing, or other visible issues.
Step 4: Check Roof Penetrations
Inspect areas around chimneys, vents, and skylights for loose or deteriorated materials.
Step 5: Conduct a Water Test
If the source isn’t obvious, use a garden hose to simulate rain on specific sections of the roof while another person monitors the interior for leaks.
How to Fix Common Roof Leaks
Once you’ve identified the source of the leak, it’s time to fix it. Below are the most common scenarios and how to address them.
1. Repairing Damaged Shingles
a. Tools and Materials Needed
• Replacement shingles
• Roofing nails
• Roofing adhesive
b. Steps to Fix
1. Remove the damaged shingle using a flat pry bar.
2. Slide the replacement shingle into place.
3. Secure it with roofing nails.
4. Apply roofing adhesive to seal edges.
2. Fixing Flashing Issues
a. Tools and Materials Needed
• Metal flashing
• Roofing nails
• Roofing sealant
b. Steps to Fix
1. Remove the damaged flashing.
2. Cut a new piece to fit the area.
3. Secure it with roofing nails.
4. Seal the edges with roofing sealant.
3. Sealing Cracks in Roof Vents
a. Tools and Materials Needed
• Roofing sealant
• Utility knife
b. Steps to Fix
1. Remove any old sealant around the vent.
2. Apply a generous amount of new roofing sealant.
3. Smooth it out to create a watertight seal.
4. Patching a Flat Roof
a. Tools and Materials Needed
• Roofing tape
• Waterproof tarp
b. Steps to Fix
1. Clean the damaged area.
2. Apply roofing tape over the crack or hole.
3. Cover with a waterproof tarp for added protection.
Preventing Future Roof Leaks
Prevention is always better than repair. Regular maintenance can extend the lifespan of your roof and prevent leaks.
1. Regular Inspections
Inspect your roof at least twice a year and after major storms. Look for early signs of damage and address them promptly.
2. Keep Gutters Clean
Ensure gutters and downspouts are free from debris to prevent water buildup on your roof.
3. Trim Overhanging Trees
Branches can scrape and damage roofing materials, so keep trees trimmed and away from the roof.
4. Invest in Quality Materials
When replacing your roof, opt for high-quality materials that are more durable and resistant to weather.
5. Hire Professional Roofers
If you’re unsure about repairs or maintenance, hire a licensed roofing contractor for professional assistance.
When to Call a Professional
While DIY repairs can save money, some situations require professional expertise. Call a roofing contractor if:
• The damage is extensive.
• You’re uncomfortable working at heights.
• You cannot locate the source of the leak.
• Your roof is nearing the end of its lifespan.
Conclusion
Identifying and fixing roof leaks is an essential skill for homeowners. By understanding the causes, recognizing the signs, and following the right repair techniques, you can protect your home from water damage and costly repairs. Regular maintenance and prompt action are key to keeping your roof in top condition.
When in doubt, don’t hesitate to call a professional roofer to ensure the job is done safely and effectively. A well-maintained roof not only enhances the durability of your home but also provides peace of mind for years to come.


